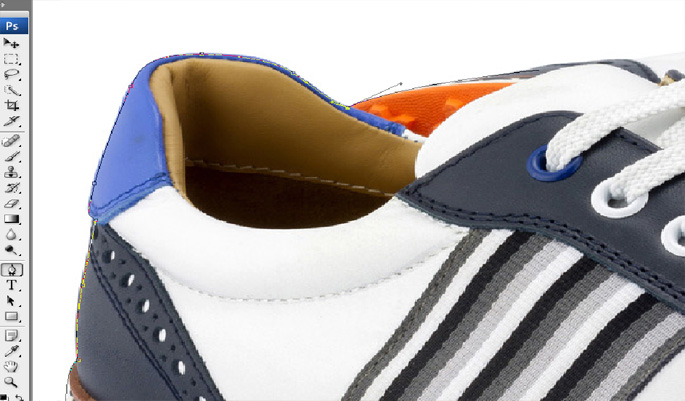
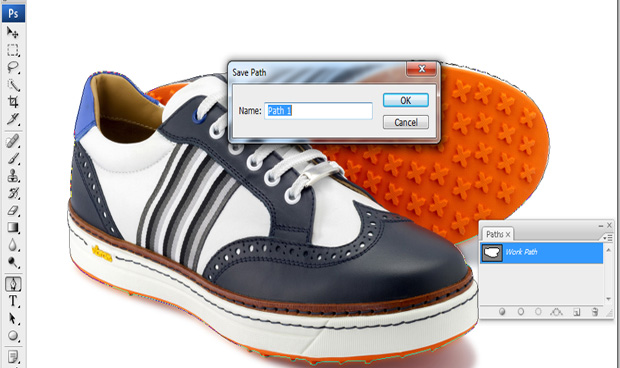
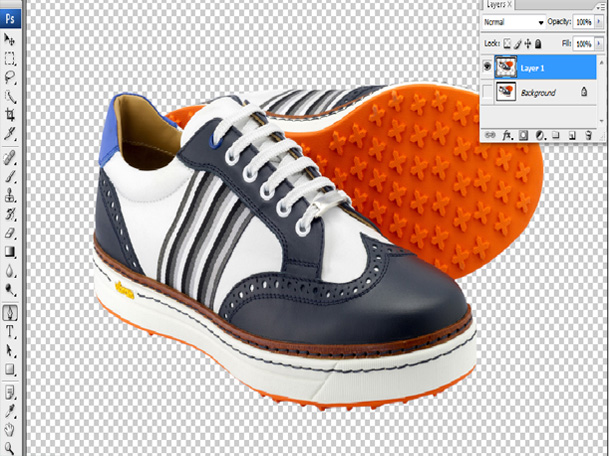
Clipping Path Tutorial

01

Open the file you want to use for your clipping path tutorial in Photoshop.
From the tool box, select the "Pen Tool" (shortcut key: Ctrl or Cmd + "P").

Look at the picture on the right.

02

Click on the edge of the element you want to cut out within the image, release the mouse button. After a certain distance, click again on the edge and this time hold and drag your mouse pointer. Once you see the outline is exactly on the edge of the image, release the mouse. Continue doing the same process until you end up at the point where you started your path. Once you see the starting point, click on it to close the path, you are done with the outside path only. See the image below


03

Now you need to draw paths for each of the gaps within the image. Start creating a new path starting point the same way you did before and continue drawing until you close the loop with the starting point. Continue drawing paths for all gaps. You are done drawing paths for your image to remove background. See the image below


04

Once you are done drawing paths all around the portion of the image you want, you then need to apply clipping path on it in order to get the background removed. To do so go to the path palette, located under "Window" menu called "Paths". Now you will see the paths you just have created are in "Work Path", double click on it and give it a name. This way your path is saved. See the image below


Now click on the pop up menu in your path palette, and choose "Clipping Path". Once the clipping path window is open, you can just click "Ok", or put any amount of softness in the flat area - this is required when your image has a soft edge - otherwise leave it blank. In this case we are going to leave it blank since the edge is well defined. See the image below


You have now finished applying clipping path to this image. Now if you save and place this image in InDesign, for example, you will see only the portion itself, no background remains.

05

1. Once you have a completed path that you want to use to remove the background, bring the "Paths" and "Layer" palette from the "Window" menu.

2. To select the path, press and hold the Control or Command key in your keyboard and click on the path in your path palette.

3. Press and hold the Control or Command key in your keyboard + press the "J" in your keyboard. This way you get a new layer which contains only the object that was inside the path.

4. Take the background layer off. You are done, now the main object remains by itself with a transparent background. See the image below


Our Price

Clipping Path

Starting at $0.29 USD/image

Shadow Creation

Starting at $0.20 USD/image

Ghost Mannequin

Starting at $0.49 USD/image

What Facilities You Will Receive From Us

Testing heading

✓ We have three times work shedule : Day-Evening-Night
✓ Urgent Delivery : 1h, 3h, 6h, 12h & 24 hours
✓ We are on present 24 hours including Sunday and Christmas
✓ We are able to complete your task in time with due regards

More testing header here goes

✓ We have three times work shedule : Day-Evening-Night
✓ Urgent Delivery : 1h, 3h, 6h, 12h & 24 hours
✓ We are on present 24 hours including Sunday and Christmas
✓ We are able to complete your task in time with due regards

New Facility

✓ We have three times work shedule : Day-Evening-Night
✓ Urgent Delivery : 1h, 3h, 6h, 12h & 24 hours
✓ We are on present 24 hours including Sunday and Christmas
✓ We are able to complete your task in time with due regards

TOGETHER WE BUILD THE WORLD PEACEFUL

We desire to improve images but also have a mission to build the world a peaceful place. We follow the rules of the UN and always preserve human rights, ethical labor practices, and our atmosphere.